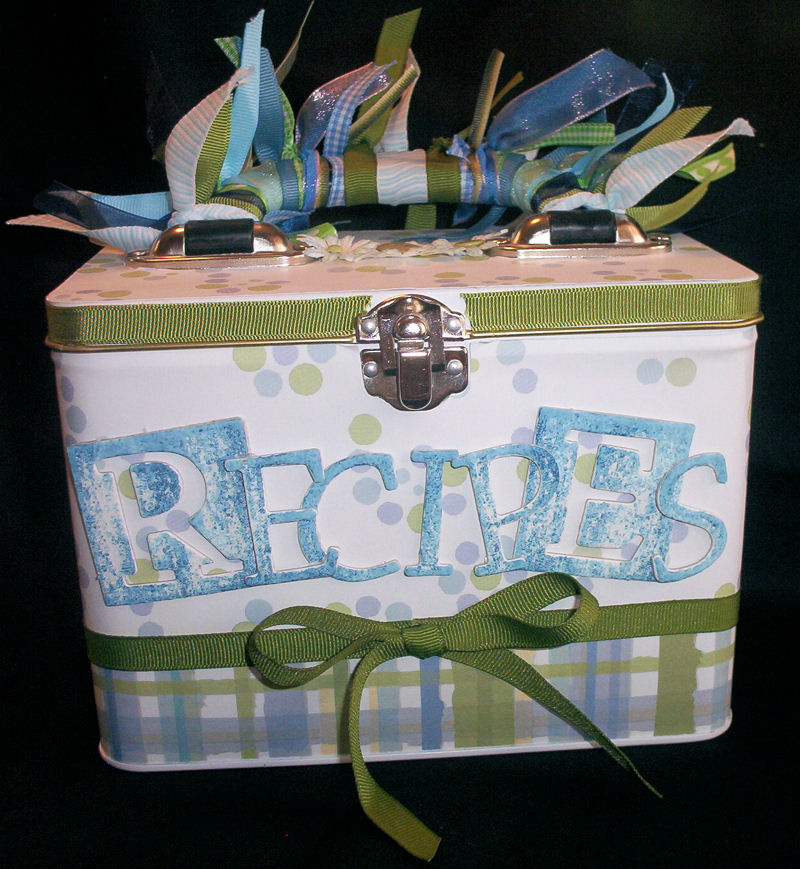
An altered lunch box tin is a great project for just about anyone! It’s ideally suited to a recipe box, but you can also alter it for other reasons. A lunch box can be used to store cards, as a calendar, as a planner, as an emergency contact list, and for many other purposes.
To alter a lunch box tin, you’ll need a few supplies.
- lunch box tin
- your favorite patterned paper
- a strong adhesive (I used my ATG for this, but you could use red-liner tape)
- chipboard letters
- embellishments
- ribbon
- scissors/trimmer
This is what I used as the base for my tin. I prefer the top hinging lunch box tin. Measure the outside of your tin. You’ll want to cut your paper to the correct length and width. There are several manufacturers of the tins, so each one will measure a little differently. If your tin is too large to wrap in one piece of paper, you’ll need to use two, with the seam in back or hidden on a side.
Adhere the paper with a strong adhesive. I used my trusty ATG for this step. I LOVE this thing! You could also use red-liner tape (it goes by Terrifically Tacky tape and a few other names.) I apply the adhesive to the paper, as this allows me greater control when applying the paper to the tin. I used 2 coordinating prints (from CTMH’s "Lazy Days of Summer" paper pack) for my lunch box.
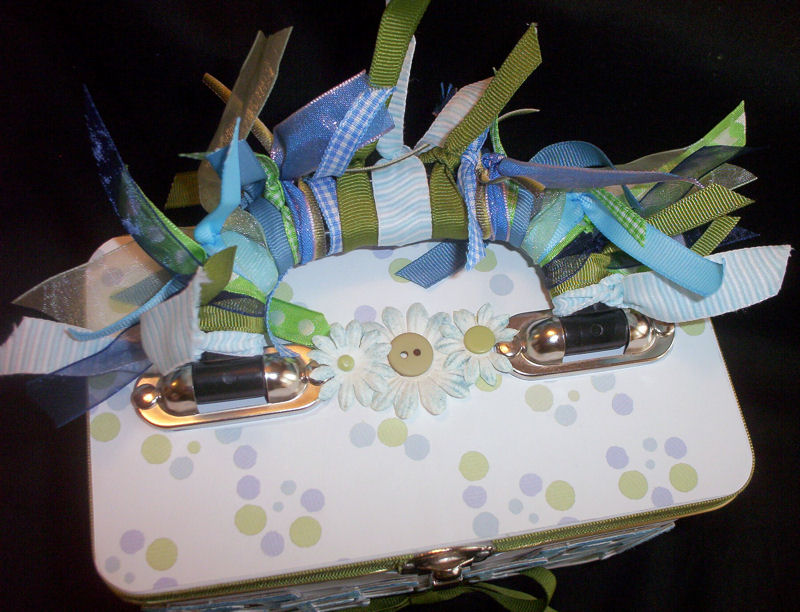
After adhering the paper around the lunch box, it’s time to tackle the top. I’ve read many ways to cover the top, including *buying* a template that was "guaranteed" to fit. It didn’t. So, I found my own way – I cover it in halves. Take a piece of copy paper and roughly trace the top, including the handle. You’re looking for a REALLY rough sketch here. I then use the sketch to cut my paper, cutting one half at a time. (Note the flowers on top of the lunch box? They’re hiding the seam. Tricky, huh?) Adhere your paper to the top with a strong adhesive.
A word about adhesives here…I prefer working with a dry adhesive whenever I can. I have little patience and hate to wait for wet adhesives to dry. I also have experienced my paper ‘buckling’ when using a wet adhesive for this (i.e.: Mod Podge). However, if you love a particular wet adhesive and feel it’s strong enough for the job – use it. 🙂 It’s your project!
Back to the project…Now you can embellish your altered tin! I used chipboard letters to spell out the function of the tin. You could use them to spell out CARDS, Mom’s Info, Dates to Remember, etc. Use your ribbon to hide the seam in your papers, if you used two. You could use flowers to disguise your top seam, as I did. Buttons would also do the trick, as would stickers, large brads, or leaves.
The crowning glory to your altered lunch box tin is a bevy of ribbons tied around the handle. Truthfully, doesn’t ribbon make everything look better? 😉
Sit back and enjoy your creation!
Thanks for stopping by! Go alter something!


.gif)