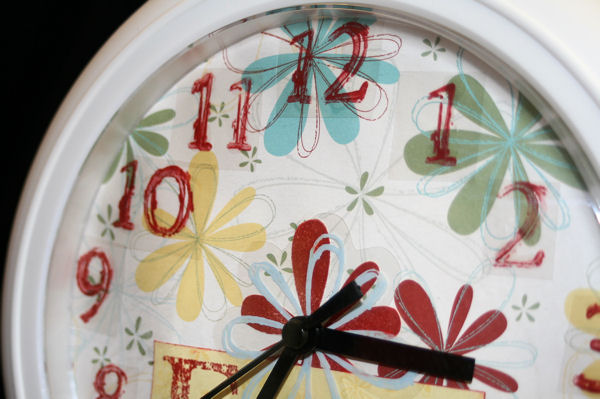
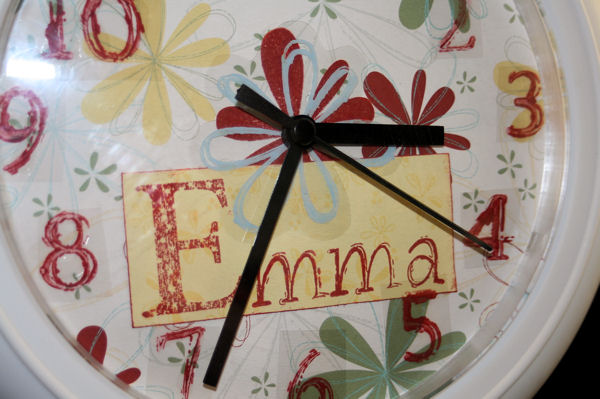
Altering a discount store clock is a wonderful way to personalize an inexpensive timepiece. With a bit of paper and some ingenuity, it’s a simple matter to create a gift for that special someone or to coordinate a clock with a room’s decor. Here are some simple steps to help you create a room accent you will be proud of. And please remember, this is more of a method than an exact "recipe". Once you have the gist of the idea, you can tweak the papers and embellishments to match anything!
Materials
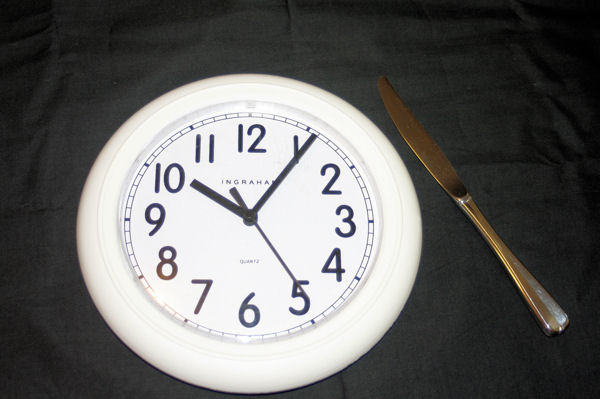
- a clock (one that has at least an 8-inch diameter will work best)
- your favorite patterned paper
- embellishments of your choice
- a number stamp set – one that will fit 12 numbers on the face of your clock
- ink to coordinate
- a permanent dry adhesive
- a trimmer
- scissors
- small, straight screwdriver or a butterknife
- one duplicate picture, if desired
Instructions
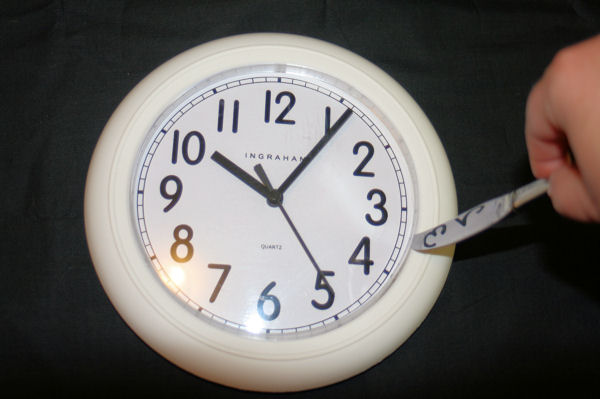
Begin by identifying the opening on your clock ‘crystal’ (this can be done by looking closely at the base of your clock crystal). Usually there is an indentation or a small cut out piece to show you where this is. Use your butterknife or small screwdriver to pry your clock crystal loose.
BE GENTLE – your crystal can crack. Lay the crystal aside.
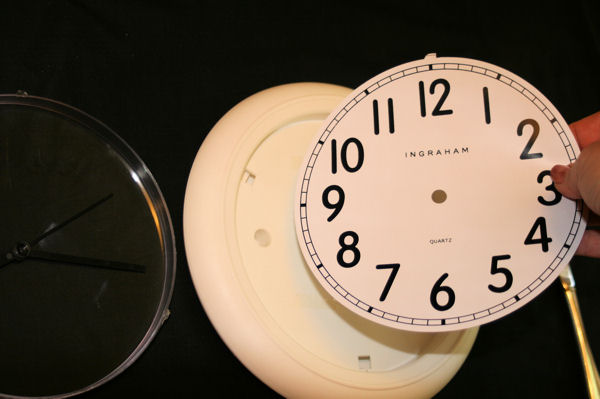
Carefully unscrew or pull off your clock parts. **Make sure you place the clock parts in order as you take them off; this is going to be important when you go to put it back together.** I usually reassemble the clock parts as I take them off the clock. This also keeps the little parts away from my curious little 4 year-old’s hands.
Lift the face off the clock. You’ll use this as a pattern for your new face. If you want to alter the clock base, this is an ideal time to do so. You can adhere paper over the sides of the base to coordinate with any home décor.
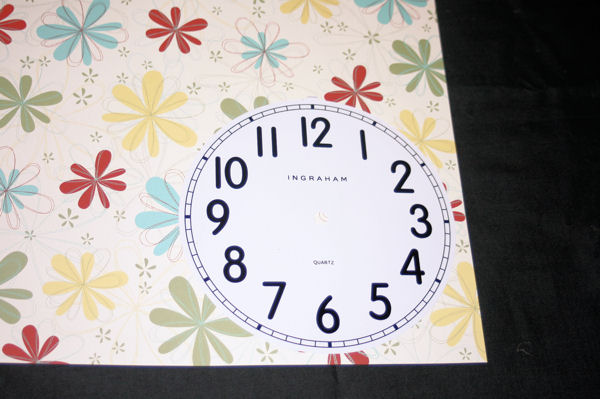
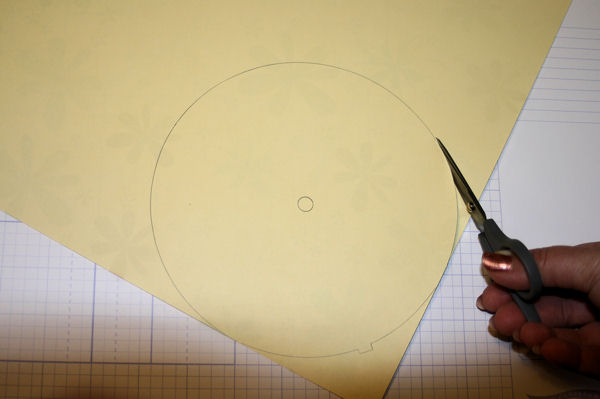
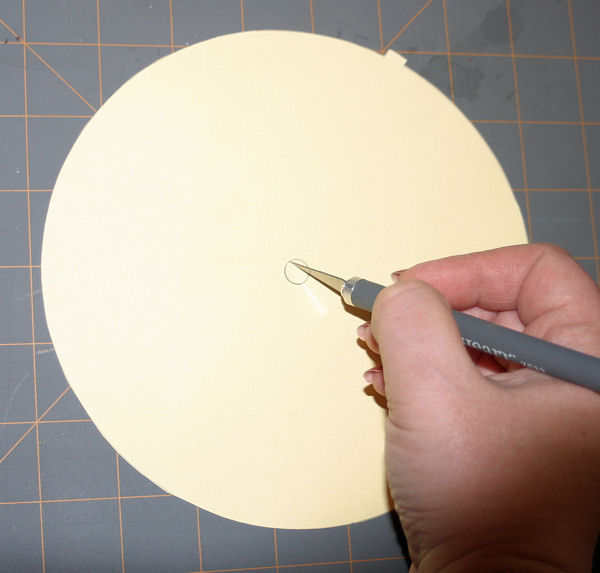
Using the purchased clock’s base as a pattern, trace it onto the cardstock or patterned paper of your choice. Cut this out. Punch the hole on the middle of the face for the clock workings. (You can do this with an anywhere punch or simply by cutting a small “x” in the middle with a craft knife.) It is very important that you do a “dry fit” at this point.
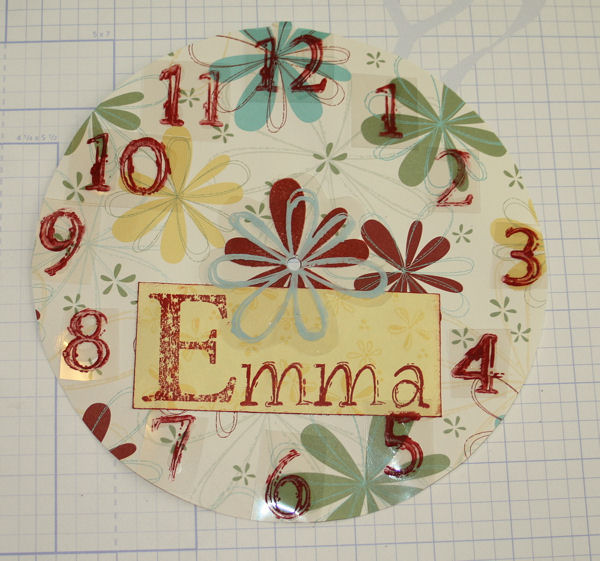
Embellish your clock face with patterned paper, embellishments, and stamped numbers. This is when you can get really creative! One thing to be aware of – make sure your embellishments are not taller than the height of the clock works (the hands). If they are, they can interfere with the turning of the hands and your clock won’t keep time.
Allow any wet areas to dry completely before beginning to reassemble clock. Place the new face onto the spindle. You may choose to lightly adhere the face to the clock base so it doesn’t rotate as you’re reassembling. Use a dry adhesive for this.
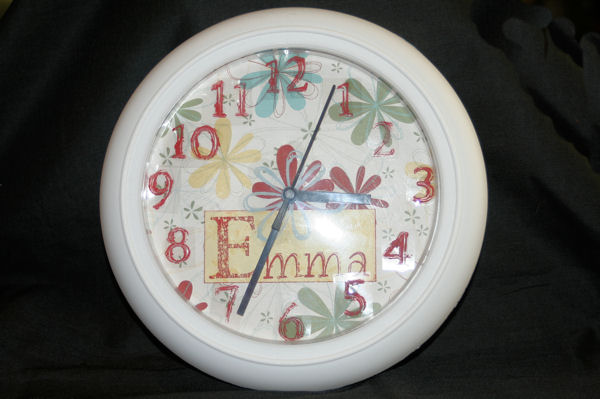
Reassemble the clock parts exactly as they were removed from the clock base. Screw or push everything down tightly. Make certain the clock is working before you put the crystal back on – this makes correcting any errors much easier. Line up the tabs and holes on the crystal and base of clock. Gently push the crystal back onto the base of your clock until it clicks or you can’t push it any further.
You’re done! Step back and enjoy your creation!



I simply could not depart your web site before suggesting that I actually loved the usual information a person provide in your guests? Is going to be again incessantly to investigate cross-check new posts
Pingback: Altered Clock Birthday Gift
Thanks sweetie! 🙂
WOW!!! your clock is so pretty!!! I think I might have to try this 🙂