Who doesn’t love Pinterest? Browsing through someone else’s seemingly perfect life…the perfect wedding (never mind that they’re too young to be married, or have been celebrating wedded bliss for several decades), the amazing nurseries and children’s rooms (have you seen the kids’ rooms?? Wow!), the incredible outdoor celebrations…the list goes on and on. I adore Pinterest, but I completely understand that what I see is the VERY best of someone’s life – the crème de la crème, so to speak. Because, seriously – who “pins” the failures?
My interpretation of this canvas wall art pin was almost a major failure. (A “pin-tastrophe”, if you will.) The near fail was completely my fault. Here’s how it went down…
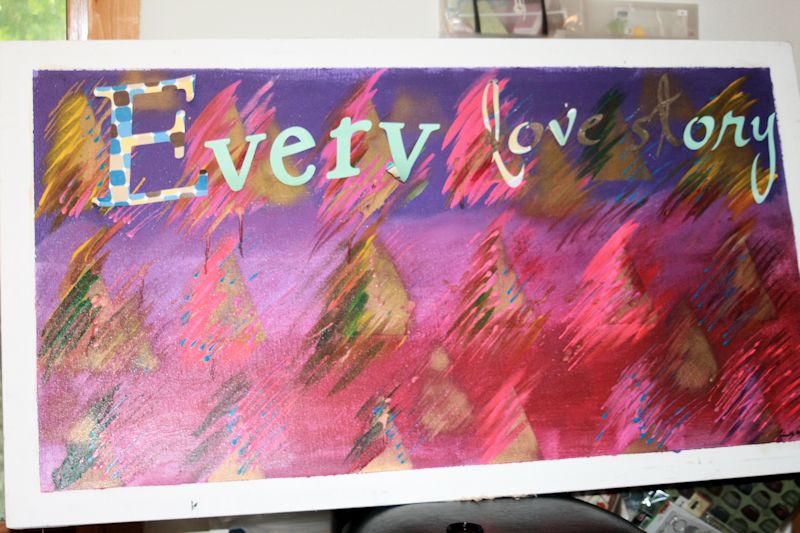
I saw the pin ages ago and have been keeping my eyes open for a potential canvas to up-cycle. I only had one criteria – it had to be cheap. You know, in case things went horribly awry. I received a text from my oldest one day. He was at our local Goodwill and had spotted the mother of all canvases – it was huge! He texted me a pic of it and asked if I wanted it. For $15, I agreed.
When he got it home, I realized just how large the canvas was – 3 feet by 4 ½ feet. And it was pretty ugly. Okay, it was really ugly. Hot pink, forest green, vivid purple – all combined with dimensional paint on a huge canvas. I saw…possibilities!
I also realized I had to change my expectations of where the finished piece would go. I decided it would be perfect above our bed. It would either be an amazing conversation piece or something the hubby and I could laugh at for years to come – a win either way.
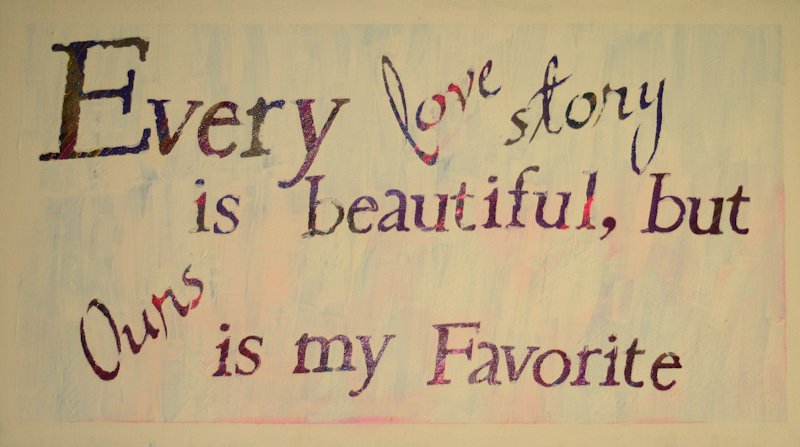
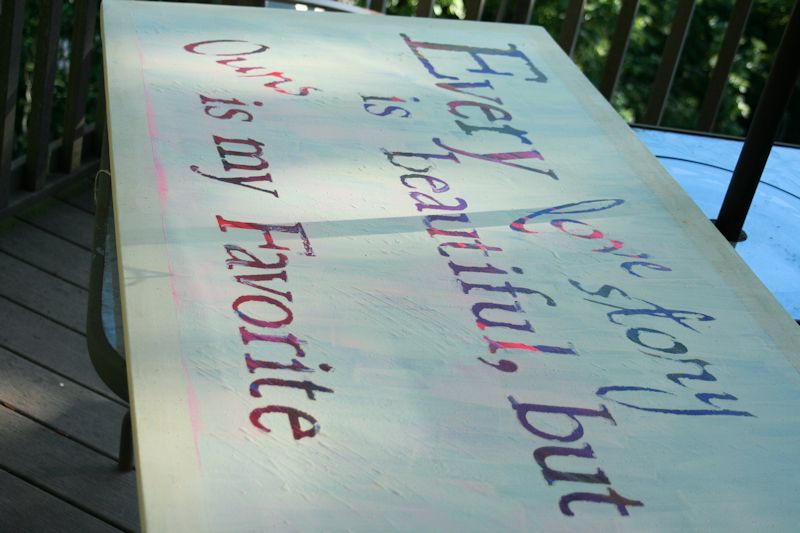
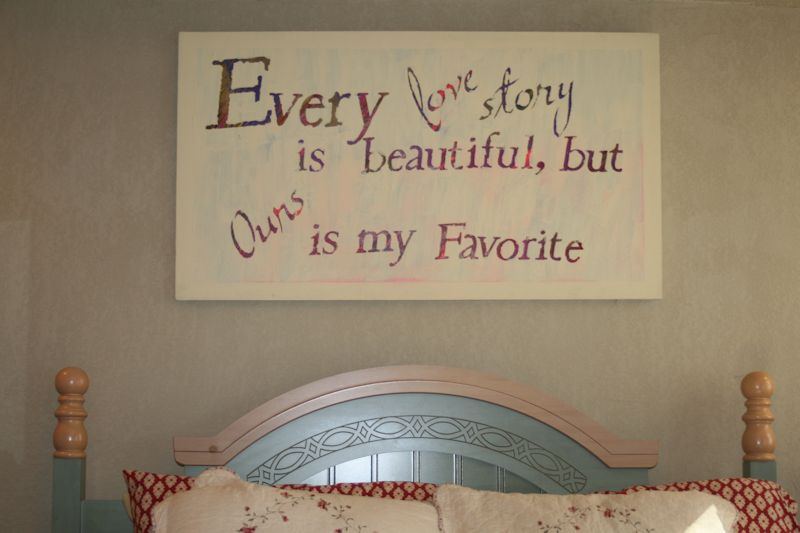
I decided on one of my favorite quotes – “Every love story is beautiful, but ours is my favorite.” I can’t find who to credit for the quote – if you know, leave me a comment?
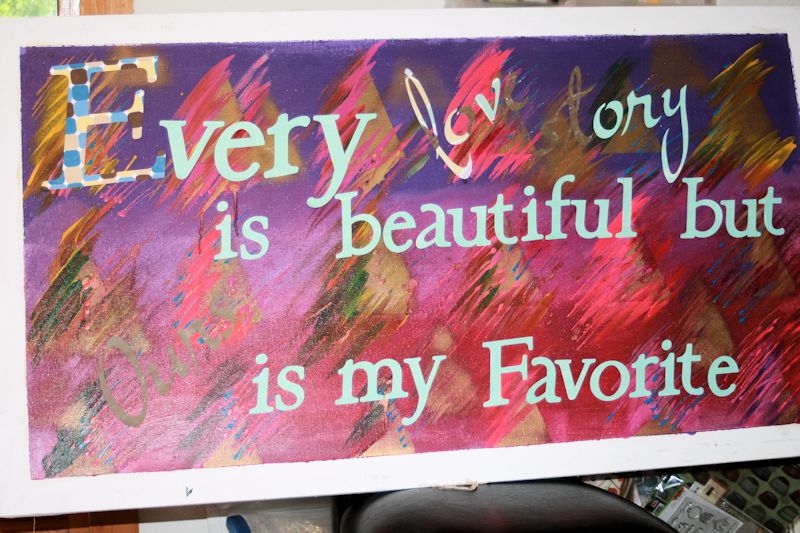
I also knew that with the size of that canvas, letter stickers weren’t going to cut it. So, I turned to my trusty Cricut. (This would be my first deviation from the original pin.) Here’s the deal with me and my Cricut…I really like it! But, I’m really impatient and haven’t fully read everything to utilize it to the best of its ability. So…I wing it a lot. A LOT. As in, I cut a letter and see if it works. If not, it goes to the recycle bin (aka my daughter).
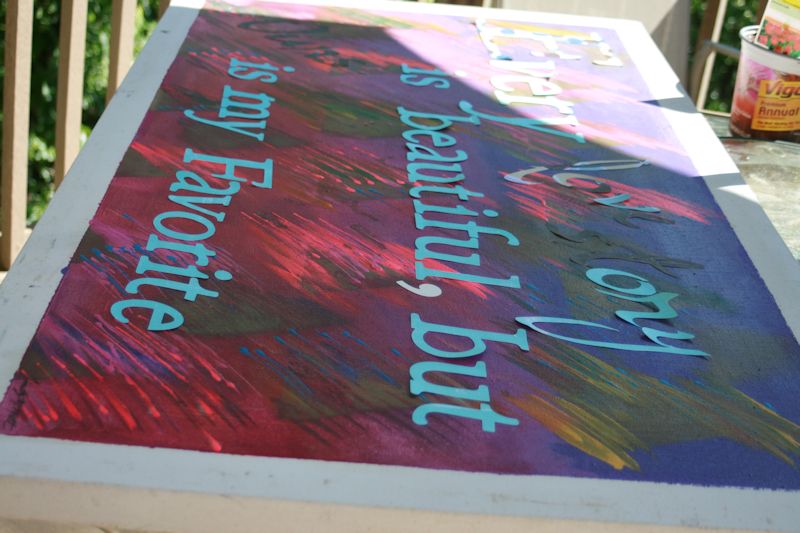
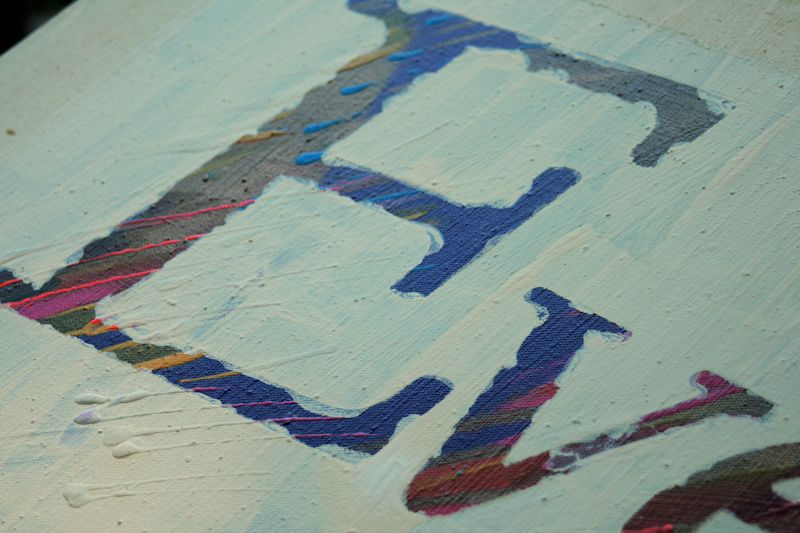
So, I cut my letters and debated how to attach them to the canvas. (Deviation #2 coming up…) I decided to run them through my Xyron (should I mention how many Xyrons I own? I didn’t think so). However, I only had removable adhesive cartridges in the machines and didn’t feel like hunting up a permanent cartridge (deviation #3). I also figured I only wanted removable, because after all – I would be removing the letters after painting, right? You can see in this pic that the removable cartridge was clearly the wrong choice. However, instead of stopping and righting my wrong(s), I plodded on. In for a penny, in for a pound.
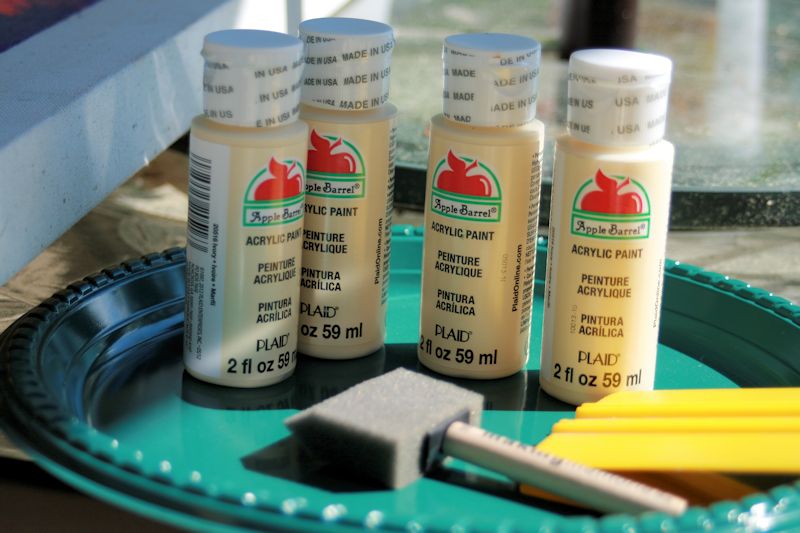
I had picked up some cheap-o acrylic paint from our local WalMart – you know the stuff that’s like $.67 each? I also scavenged around in my stash for a sponge brush. Add in a disposable plate for a palette and I was ready to go. I carried the monstrosity upstairs from my studio to the back deck and got down to business.
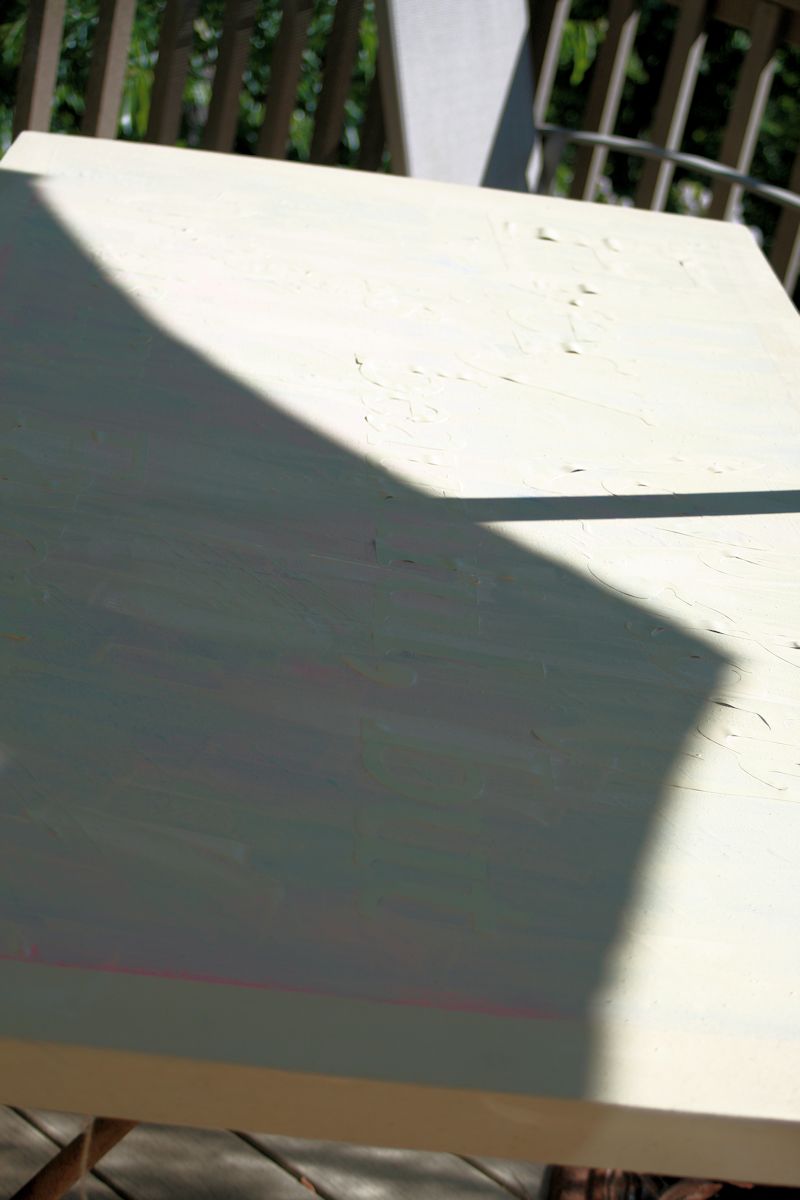
Now, here’s where I should have actually read the original pinner’s tips. Ha! She specifically said she wished she would have used spray paint. Um, yeah – me too. So, I painted over all the letters, trying desperately to keep them down on the canvas. Did I mention it was 85+ degrees and extremely sunny? Fun times…And the entire time I was painting, I was mentally preparing this blog post as “the pin that failed” post.
Anywhoo, I finished the painting and waited just a bit for the paint to dry. I was afraid if I left it too long, the letters would be impossible to get off. Bwahaha! Remember, they weren’t sticking real great in the first place? I crack myself up.
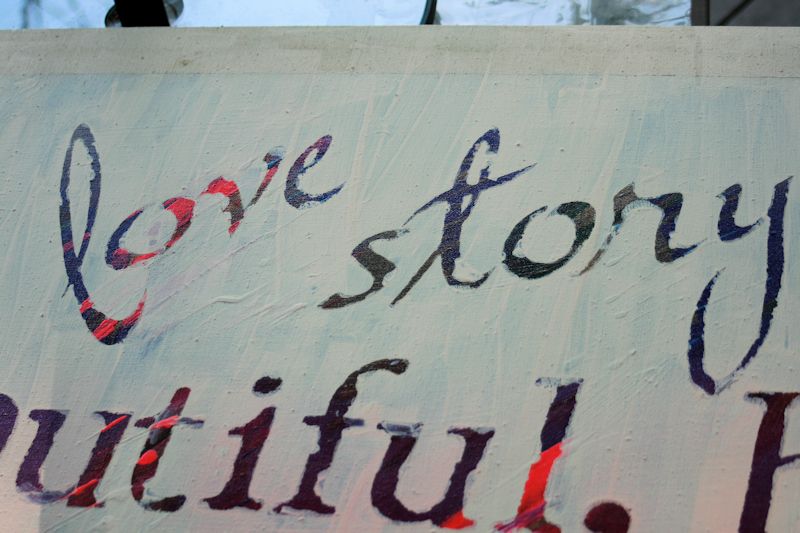
I gently peeled the letters away (the good news about using the removable adhesive is that with the exception of one letter, they peeled off amazingly well). I was SO pleased with the finished product!! I had a bit of bleeding through the letters, but I look at it as ‘distressed’.
Hubby hung it over the bed and seriously? I am tickled pink (hot pink, forest green and vivid purple?) with it!
So. Lessons learned. 1 – use a *permanent* adhesive. I can’t stress this enough. 2 – use spray paint. I haven’t tried it with spray paint, but I fully intend to. 3 – be prepared for your ‘masterpiece’ to be unique and perhaps a bit distressed. 4 – start on a much smaller scale.
Would I do this technique again? ABSOLUTELY! I’m on the hunt for another canvas as I type…
Pingback: Handmade Gift Ideas for a Teenage Girl - Altered State of Mine